>>>
Brand Name Siboor
Origin CN(Origin)
Item Type Extruder
Model Number FOR BMG Extruder Kit
Usage For 3D printer
Type Flexible filament double gear FOR BMG Extruder Kit
Material Metal/ Plastic


Ships From
China
Color


for BMG Reduction Extruder Kit


Product advantages:
Focus on 3D printer accessories, products you deserve
Source manufacturer, large quantity and preferential quality assurance, high-quality raw materials
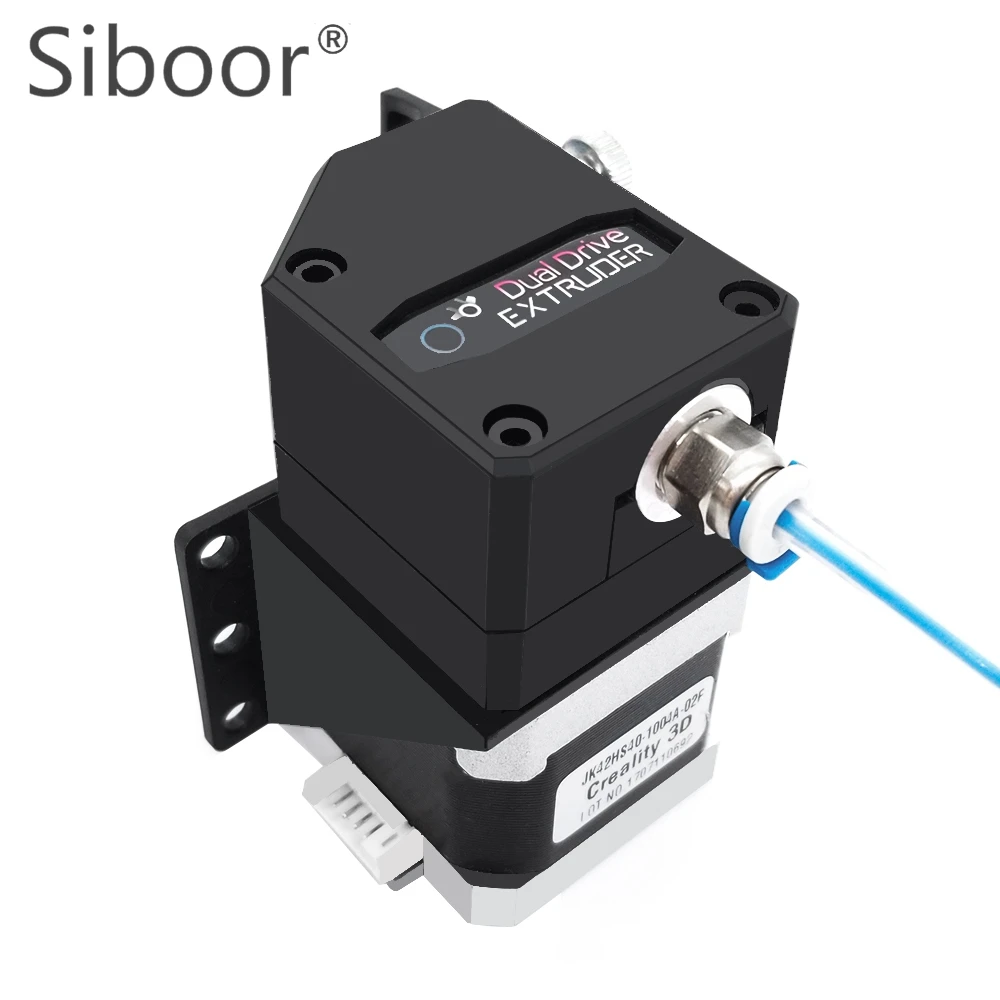
The above picture is for display only, the actual shipping list does not include the motor and transparent tube
Reduced extrusion VS traditional extrusion
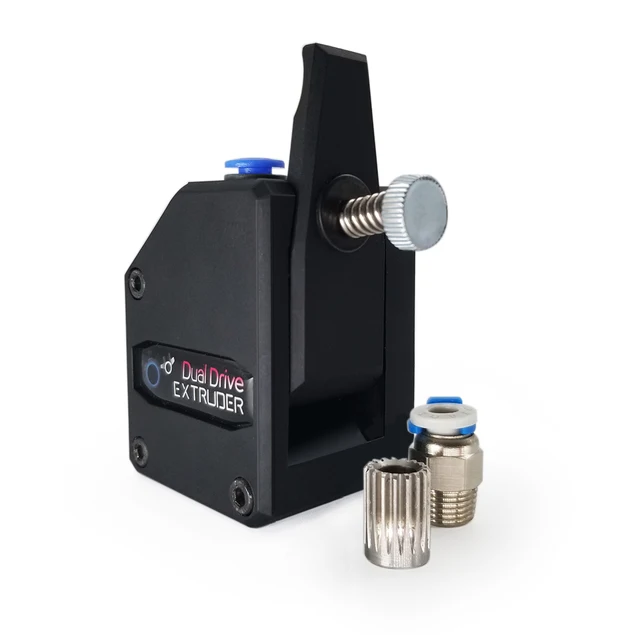
With dual drive technology, there is no need to worry about consumables slipping and biting. Easy assembly and feeding. With dual drive technology, there is no need to worry about consumables slipping and biting. Easy assembly and feeding. The Dual Drive Extruder extrusion mechanism can adjust the feeding force with screws to adapt to all 3D printing consumables: PLA/ABS/PETG/TPU/TPE/nylon/carbon fiber, WOOD.
For Dual Drive Extruder extrusion mechanism Single pulley extrusion mechanism
Improve design to avoid plugging
The inside of the extrusion mechanism will continuously and stably feed the material, and the design is exquisite, it will not be twisted from the side of the extrusion wheel, and avoid the plug caused by winding inside the Dual Drive Extruder.
Adaptation machine
Suitable for most DIY 3D printed parts, Creality 3D CR10/Ender series/wanhao D9/Anet E10/GEEETECH and other high-performance upgrade parts for 3D printers
Product Description:
[Product material]: Stainless steel, plastic[Product weight]: 31g
[Packing size]: 150*100*20mm (50g)
[Adaptive filaments]: PLA/ABS/PA/PC/TPU/TPE/WOOD(1.75MM)
[Deceleration ratio]: 3:1 (recommended pulse: 393.9)
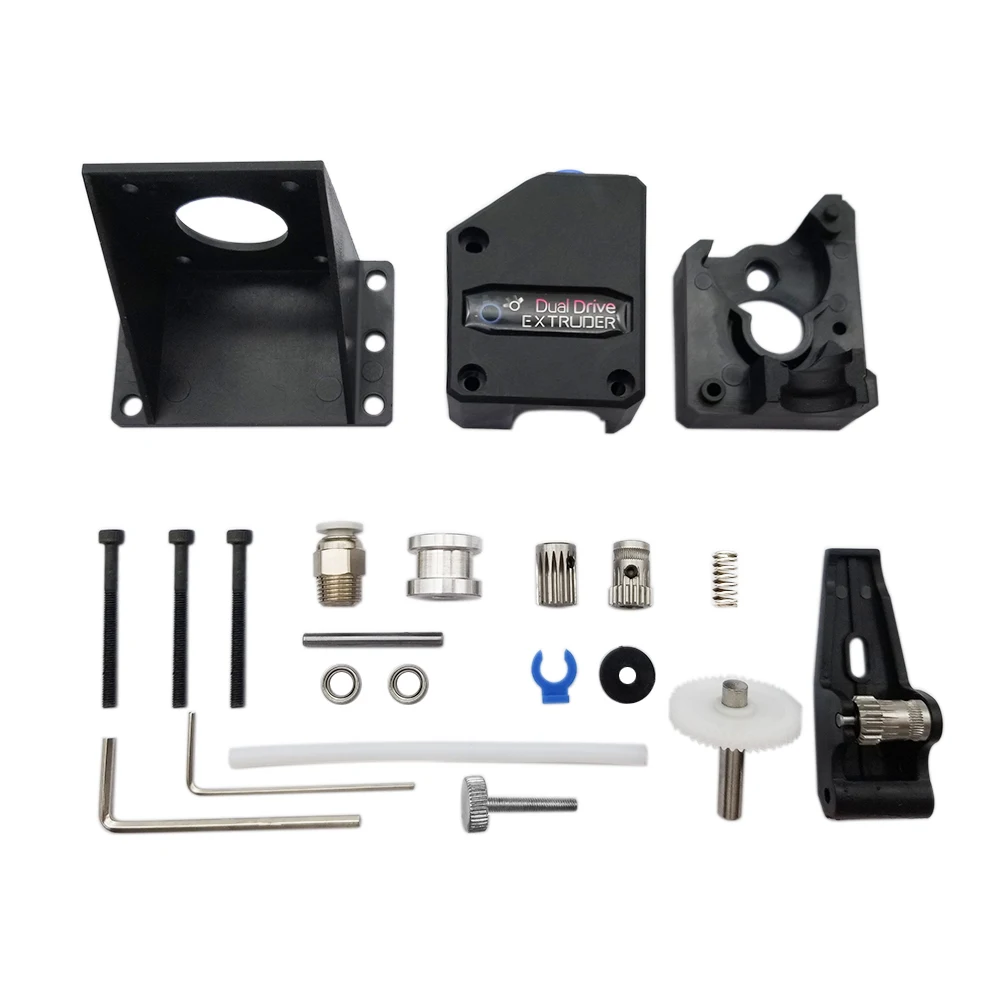
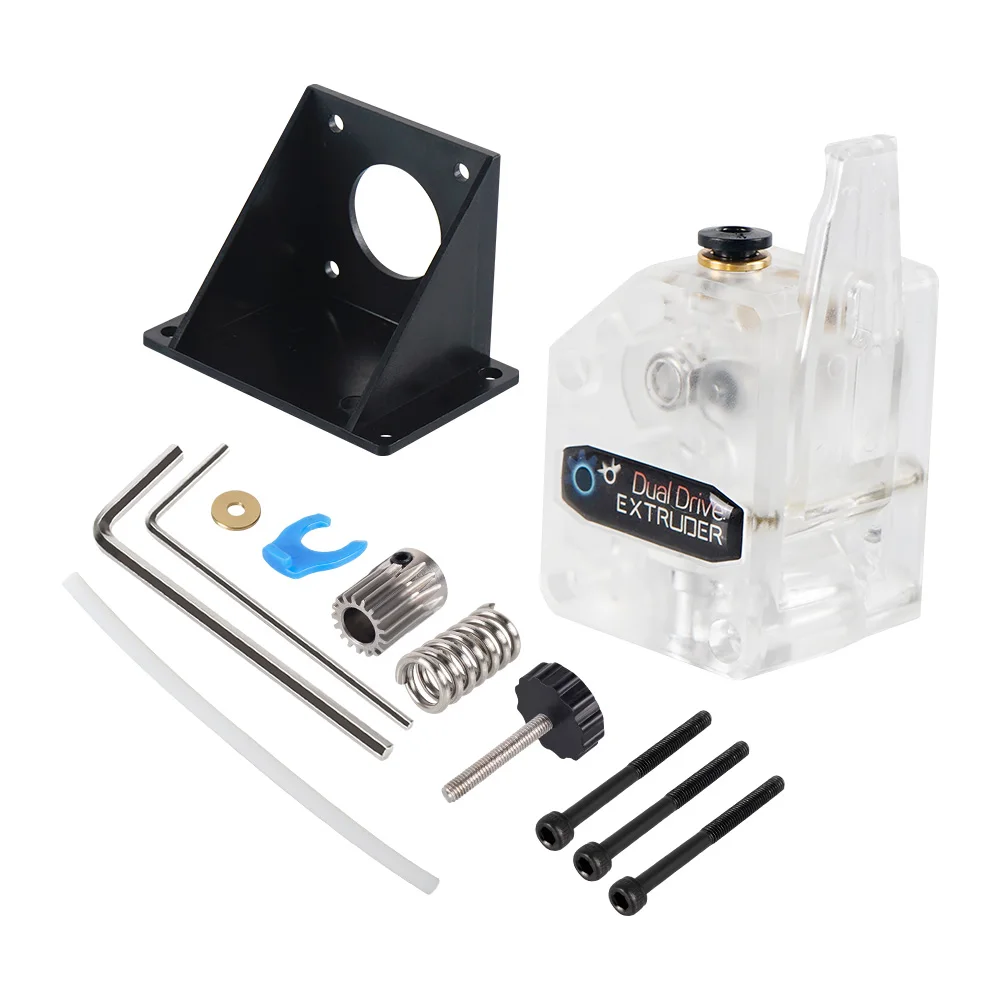
[Shipping list]:
a.Dual Drive Extruder Kit *1
b.Motor Mount *1
Instructions for use:
Dual Drive Extruder Reduced Extrusion Mechanism Installation Manual
1. Disassemble the old extrusion mechanism
2. Assemble the new extrusion wheel on the motor shaft and lock the top wire
3. Place the Dual Drive Extruder on the motor bracket and install three screws
4. The inlet and outlet are respectively equipped with guide tubes. Install the adjusting screw after manual feeding
5. The display enters [Information Interface], enters [Control]
6. Find [Sports]
7. Find [E axis step per mm]
8. Turn the knob to adjust to【+0393.9】
9. Remember to save the parameters! Otherwise, the default value will be restored after restarting!!!
Ender-3S use demonstration
10. Click Load parameters to complete the installation.

No comments:
Post a Comment